Present :
Absent :
Task
Today we will build the second part of the autonomous car, which is the sketch of the autonomous car. So basically this is how we design the car, what material will be use as wheels, car body, and more.
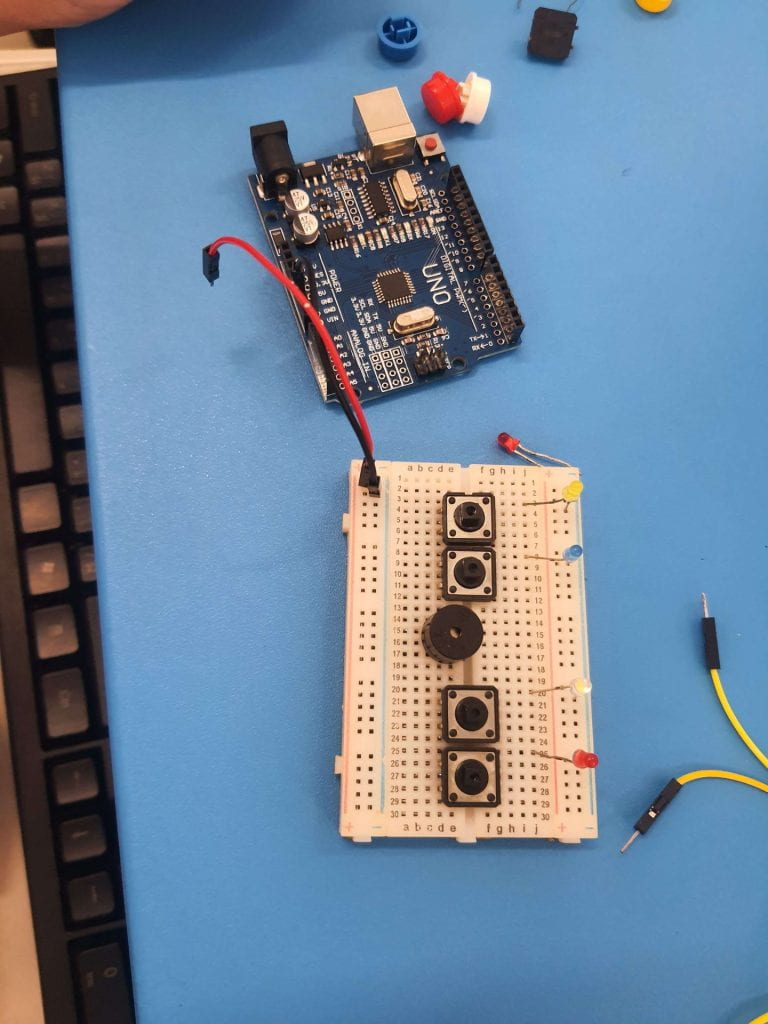
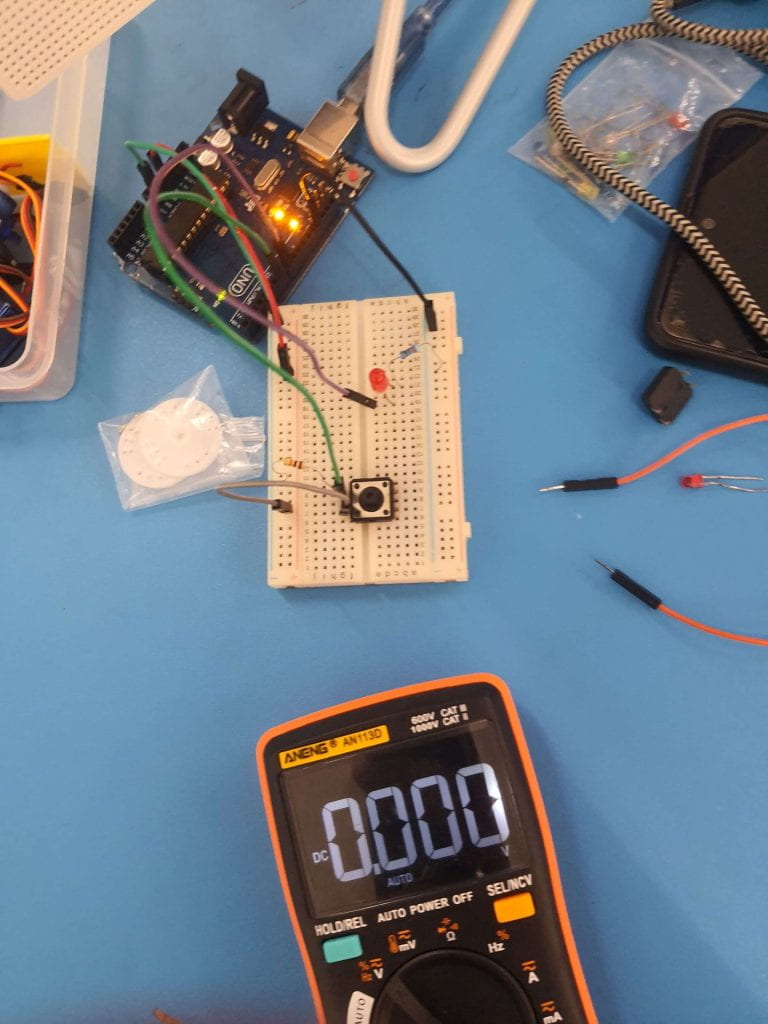
Components
Here are components used :

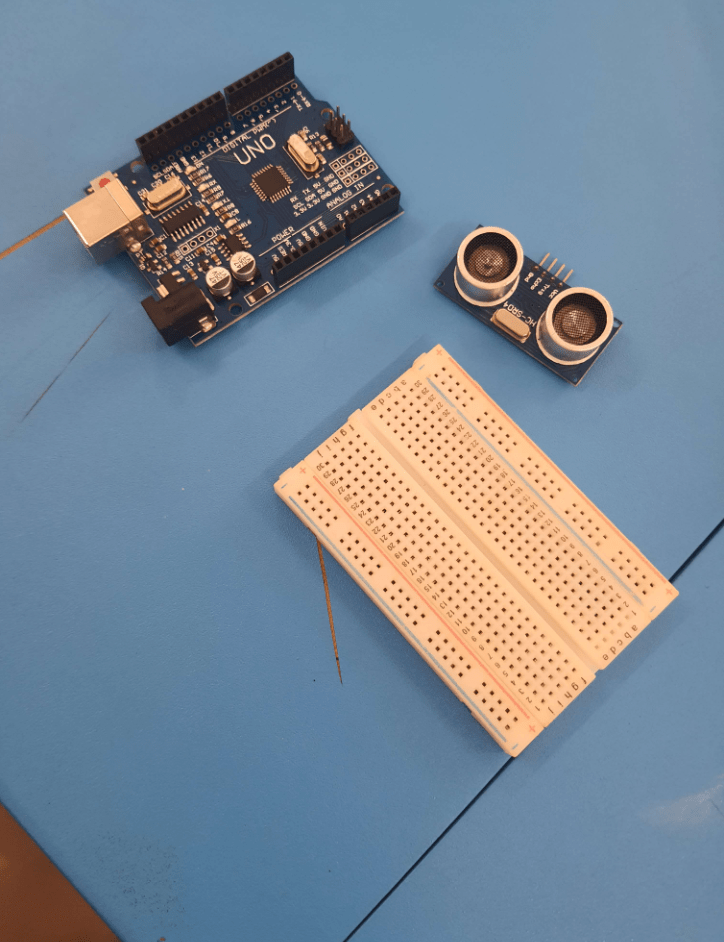
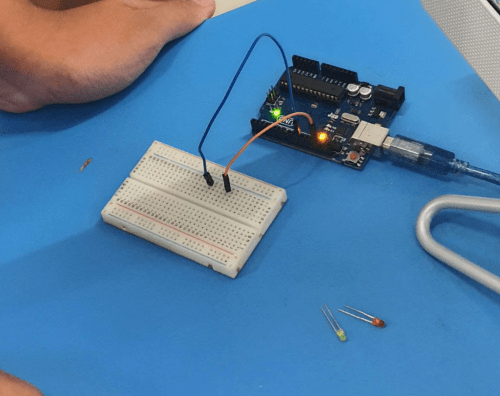
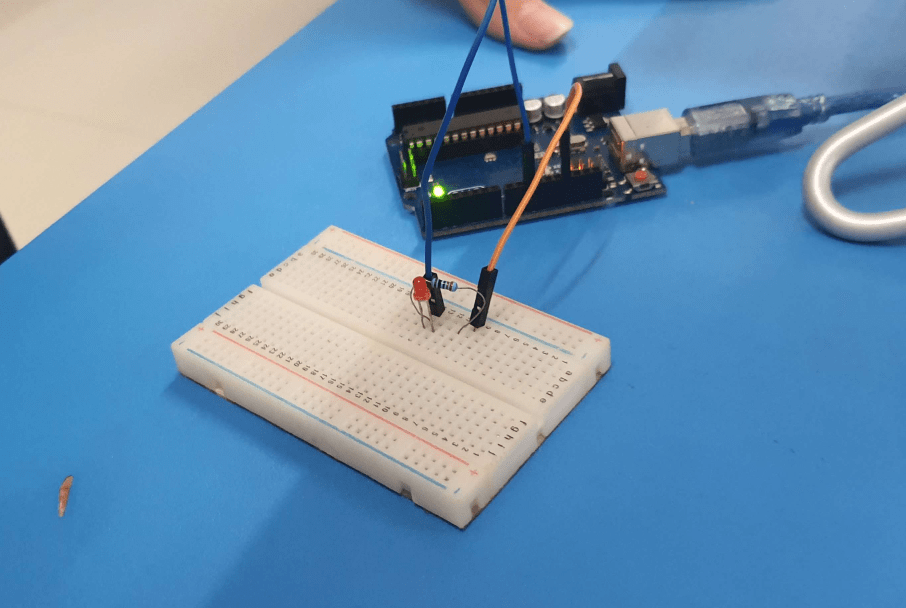
☑️ Arduino UNO Board
☑️ USB cable
☑️ 2 9V Batteries
☑️ Servo (Left, Right)
☑️ Breadboard
☑️ Jumper Wires
☑️ Ultrasonic Sensor
☑️ Wheels
☑️ Cardboard, Wooden Sticks (Car Body)
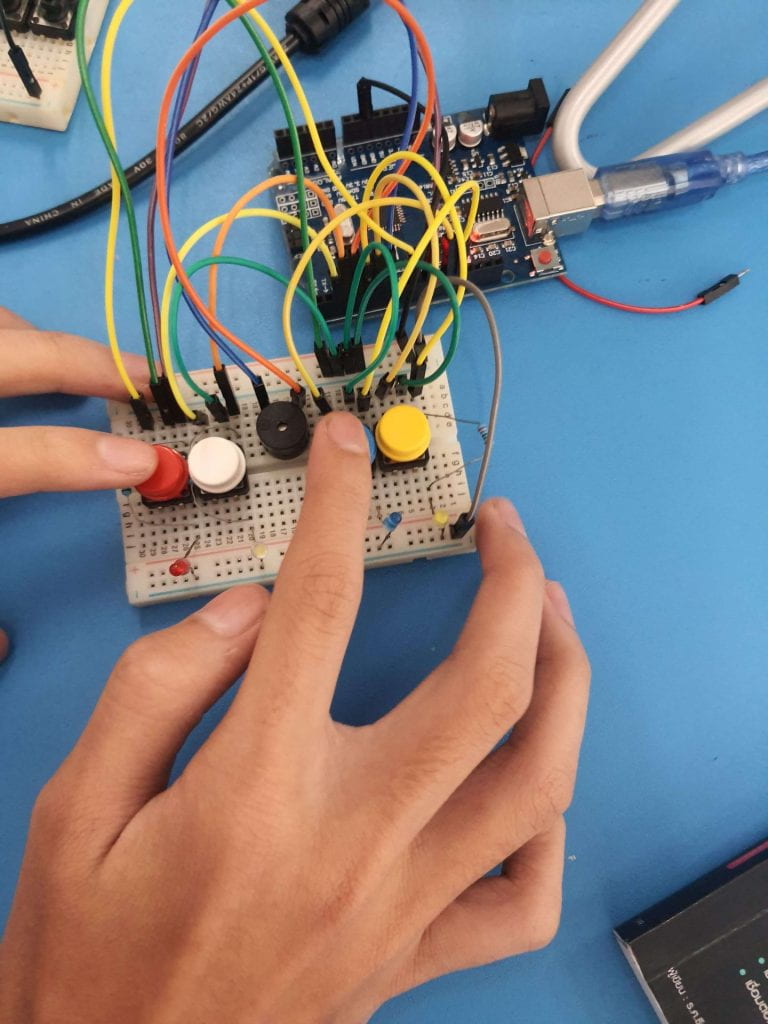
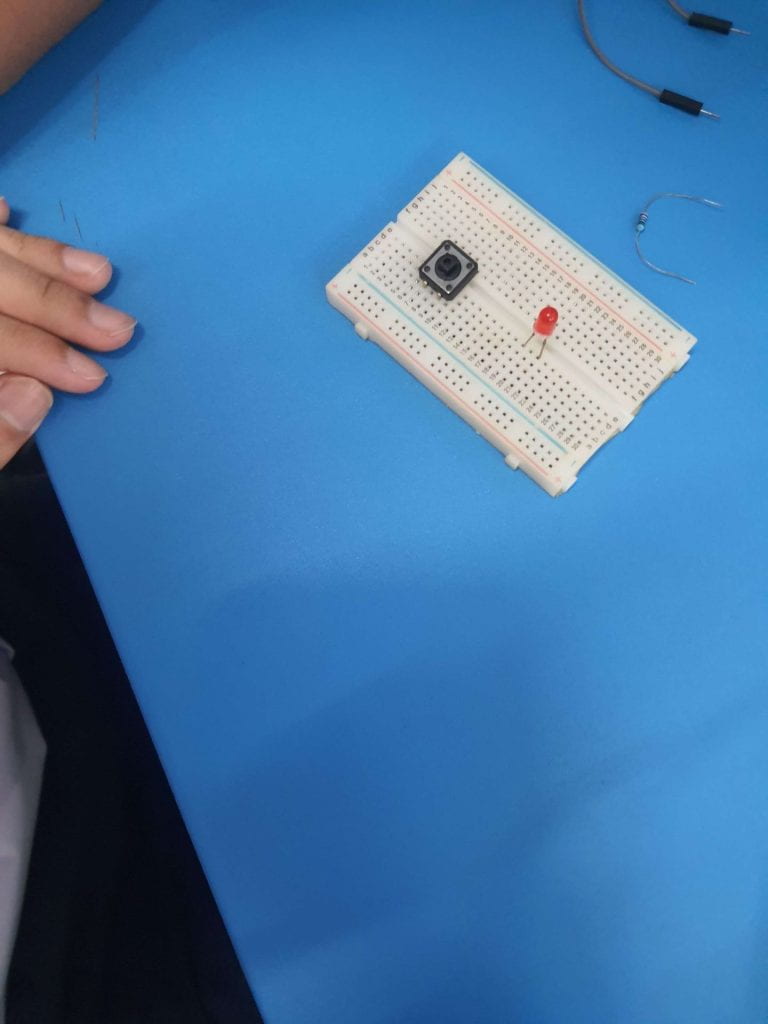
Process
These are steps we did in this project :
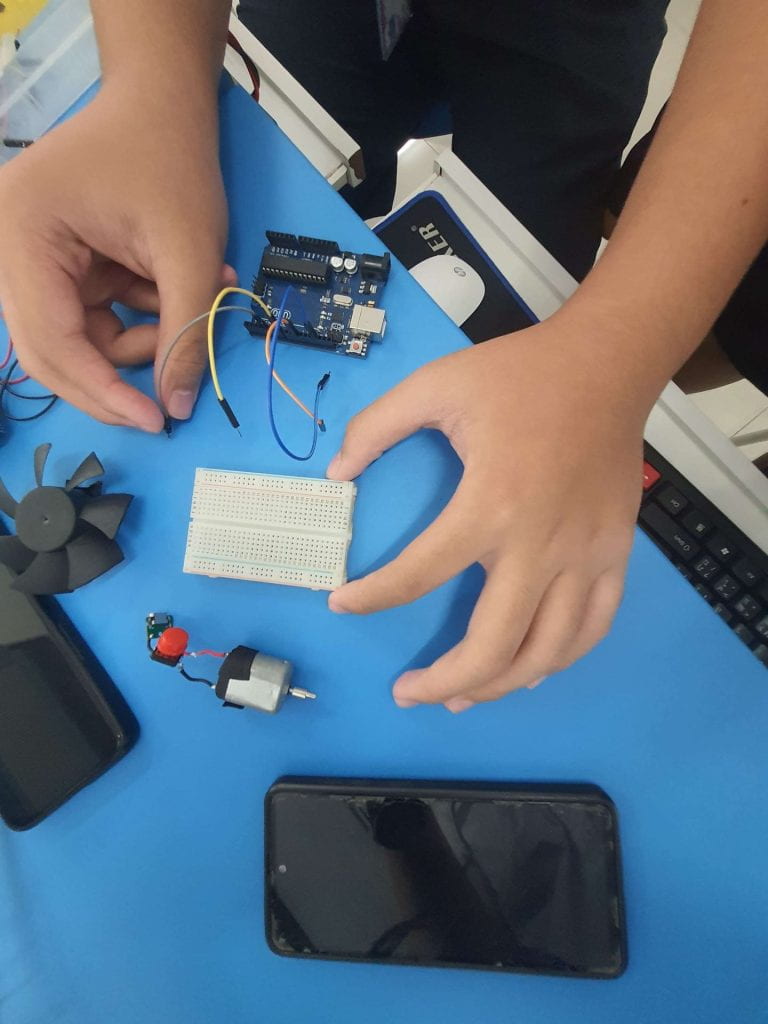
1.Create base for the car.

2.connect the base to the cardboard with glue to make a bigger base.

3.Attach the components to the base.

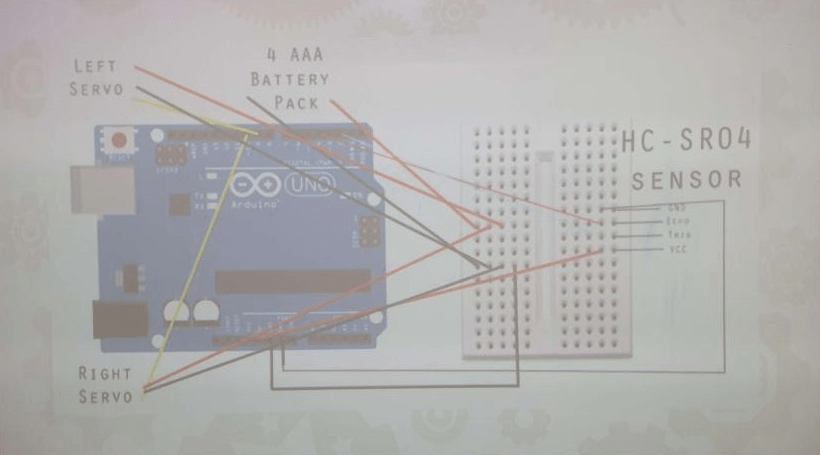
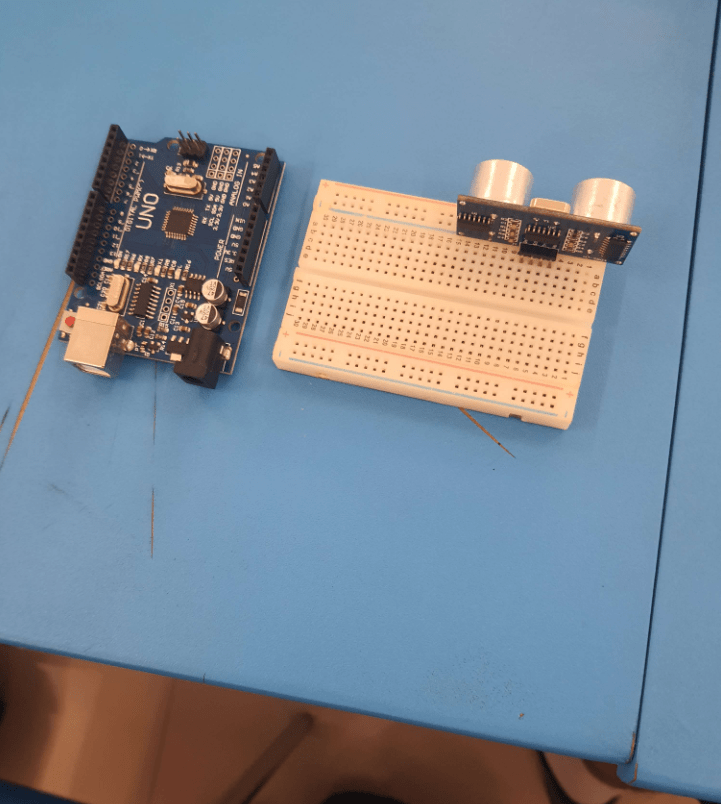
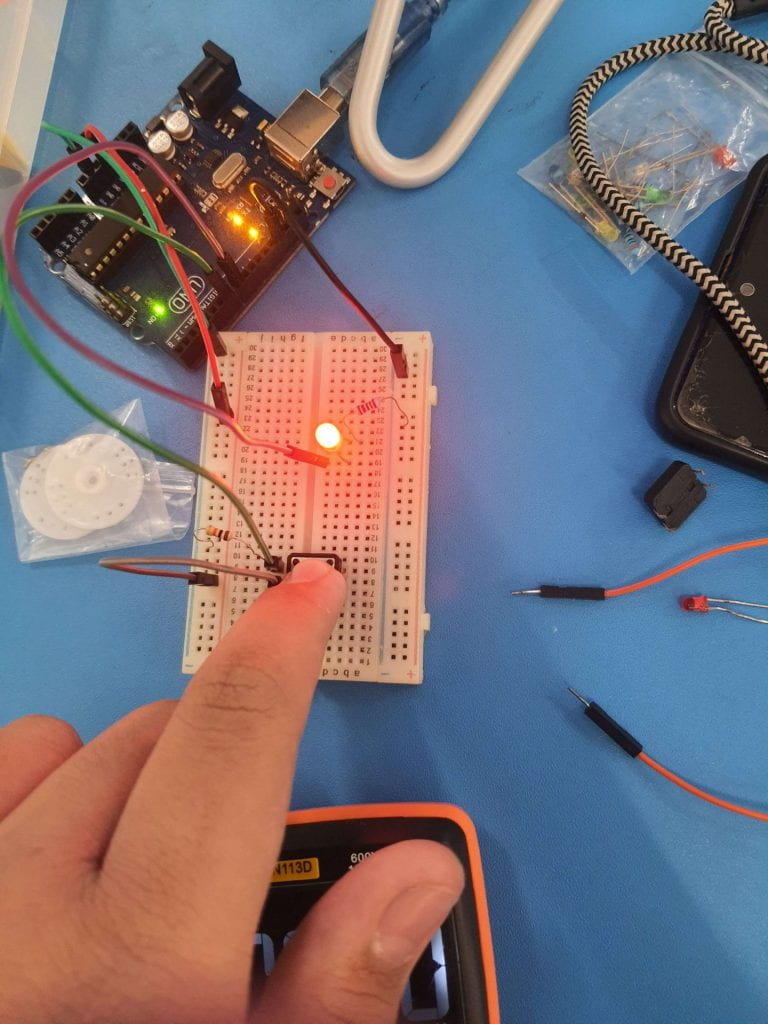
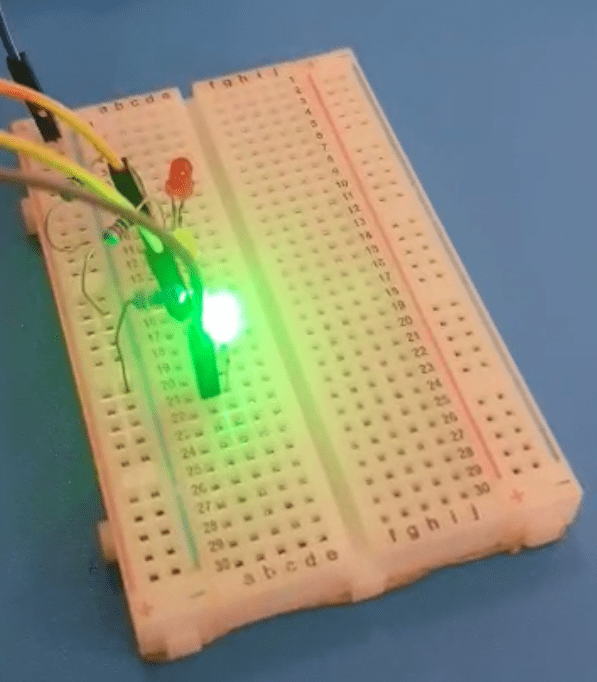
4.Connect jumper wires between Arduino UNO board, Breadboard, and Ultrasonic Sensor.

5.Connect servos to with the circuit.

6.Connect servos under the base